
Most windows operation system lovers know that Windows 11 is releasing at the end of this year, or in the new year holidays and Microsoft has also confirmed that. So to tune windows according to taste we have added a new topic to our blog.
How to install fonts in Windows 11?
Although quite a simple topic for many medieval users, who knows how many new users are being added to their fan base.
So, let’s start this topic, there are the following 4 simple methods to install new fonts in the new Windows 11 either on a laptop or PC computer.
How to get fonts for Windows 11?
In order to install new fonts on your laptop or PC, you can have it through a USB flash drive, or CD from your friend, colleague, or any trustworthy person.
Or, simply you can download it from many reputable resources like Google Fonts, FontSpace, FontZone, DaFont, etc. Usually, a number of fonts are free and some premium looks are paid.
Fonts files are usually in compressed format, you can extract it with a pre-installed windows extract tool or any other extract, zip tools.
After extraction, fonts files can be accessed having OTF or TTF extension. After right-click to any font file, you can easily preview the font file.
Simple 4 Methods to Install Fonts
Don’t have much time to read the complete article? Here is a summary of this.
- 1- Right Click Menue: “install”
- 2- Drag and Drop to Fonts Folder
- Search “Fonts” at the Start menu
- Control Panel > Appearance and Personalization > Fonts
- Settings > Personalization > Fonts
- 3- From Microsoft Store: Search and Install
- 4- Font Preview: Open font Preview > Install
- 5- Install From Web
Any senior Windows user can easily pick these methods to install new fonts in Windows 11. If you did not get then go through it once in this article.
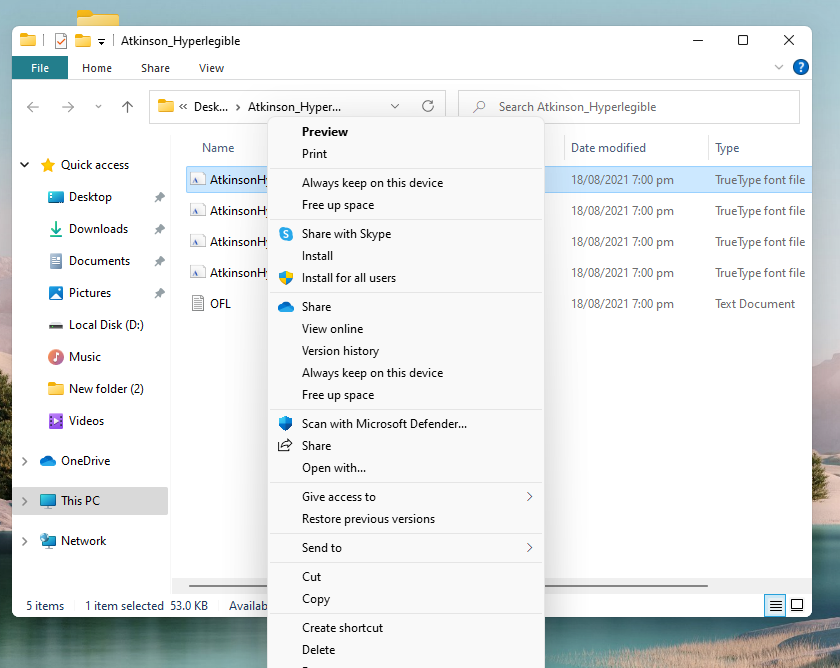
1- From Right-Click Menu
If you already have any font file, usually it is in compressed format. Right-click >Extract Files (to the desired location) or Extract Here to get the actual font file.
- Right-click font file > Click Install
In Windows 11, you may see “Show more options” in the menu instead of install
- In this case click show more option > Install
The font will start installing on your laptop or PC at the required destination.
2- Drag and Drop to Fonts Folder
It is also an easy method for Windows users, as it takes just drag font file to fonts file. All you have to do is open both windows parallel and then drag font to font folder.
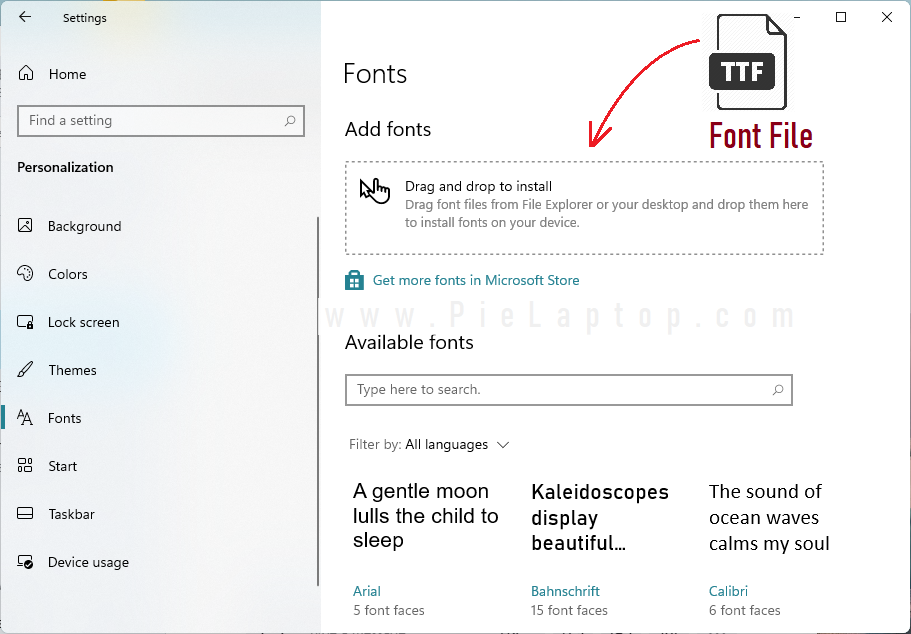
- Press Windows+I to open settings > Personalization > Locate and Click Fonts at the left side > Drag font file in dotted rectangle or anywhere in this folder.
You can also open the font folder from the “control panel” by typing in the start menu.
In the font folder, either drag and drop or press “Ctrl+C” to copy and paste “Ctrl+V” into the font folder.
3- From Microsoft Store: Search and Install
If you are logged in to windows 11 by your live.com email or not you can download and install new fonts on your laptop or PC.
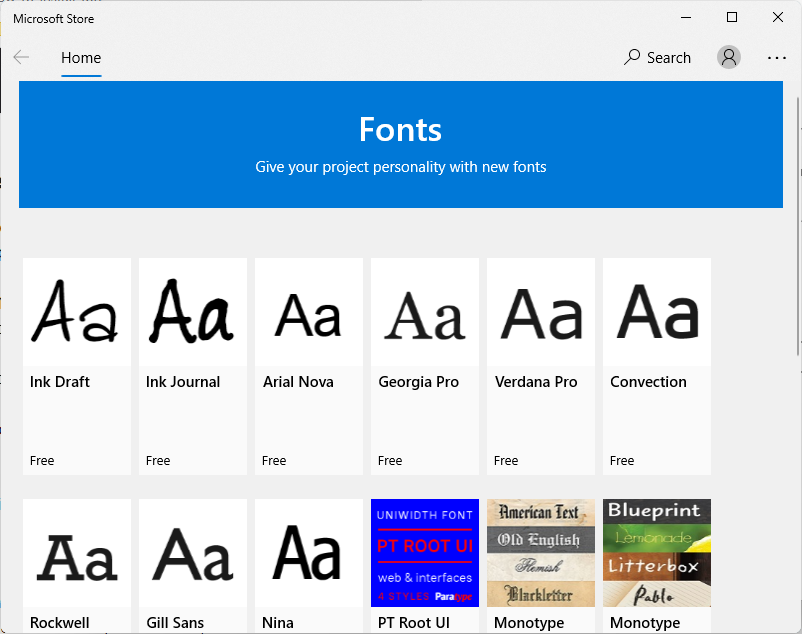
Click Start Menu > Microsft Store OR search “Microsft Store “ from the start menu and open it. Usually, it’s pinned to the taskbar.
Or Click “Get more fonts in Microsoft Store” in the fonts folder.
Click in the search box and type “Fonts”, click Get to install any free available fonts, or buy new fonts of your choice.
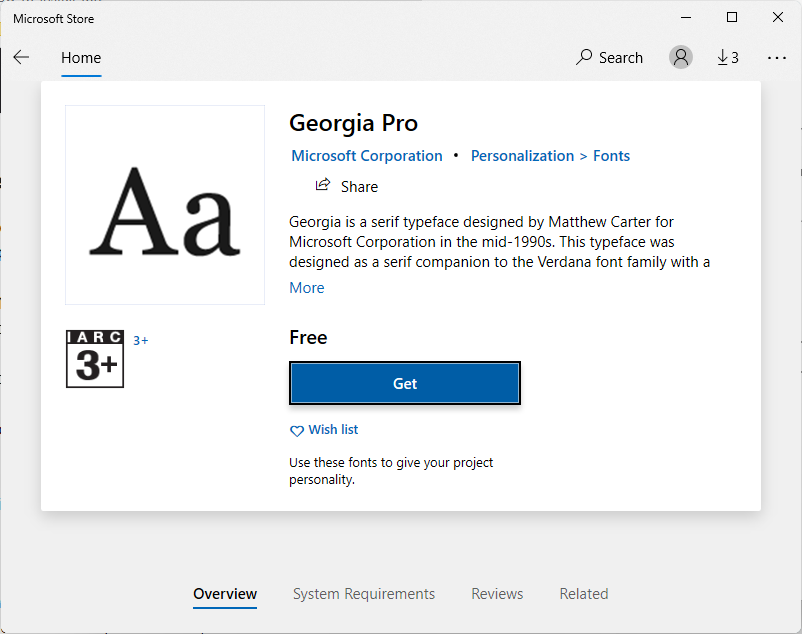

Note: Click “Install” if it doesn’t start installing automatically.
4- Install from Font Preview
It is the most convenient way to install fonts in Windows 11. All you have to do is just open the font file preview by double click or preview in right-click menu.
In the preview window, you will see the “Install” button, just click that button, and the font will be installed in Windows 11 without any hassle.
5- Install From Web
In order to install fonts from the web, you can download fonts from the following websites and install those as mentioned before.

Install Font for All other Languages in the World
If you are not a native English speaker or bilingual speaker then you can also add fonts of your language like Urdu, Pashto, Persian, etc.
Just open font from settings/control panel as mentioned in the 2nd method. Locate and click “Download fonts for all languages” it will download all fonts of other languages.

How to Uninstall Fonts in Windows 11?
If you want to uninstall or delete any font from Windows 11 then go to the fonts folder from either settings > personalization> fonts or from the control panel.
In the search bar of the fonts folder, search the required font you want to uninstall, or, you can locate it manually by scrolling down.
- Click Font Name > Uninstall
It’ll uninstall that font from your laptop or PC without any hassle.

Delete / Uninstall Multiple Fonts in Windows 11?
It is one of the easiest methods to uninstall or delete fonts with a few clicks. Open fonts folder and locate fonts manually and click, hold the “Ctrl” button for multiple selections.
When you are done with the selection then click the “Delete” button on top located near organize option. It’ll delete all unnecessary fonts and will save space for you.

Also read
Conclusion
Although Windows 11 is a new operating system by Microsoft and it’s being launched sooner or later this year. Microsoft has introduced few changes in this operating system especially, since the inclusion of the Android app has given it more hype.
Along with other windows 11 posts, we have published 4 easy ways to install new and existing fonts and a method to uninstall fonts.
If you have any questions or want to add something missing in this article just comment below, we’ll get you back.