
How to Screenshot on a Laptop: A Comprehensive Guide
Introduction
Capturing the content on your laptop screen is a fundamental skill that can come in handy for various purposes. Whether you want to share a funny meme, capture an error message for troubleshooting, or simply save an important piece of information, learning how to take screenshots on your laptop is essential. In this guide, we’ll explore step-by-step instructions for different operating systems, along with useful tips and tricks.

Taking Screenshots on Windows
Using the Print Screen Key
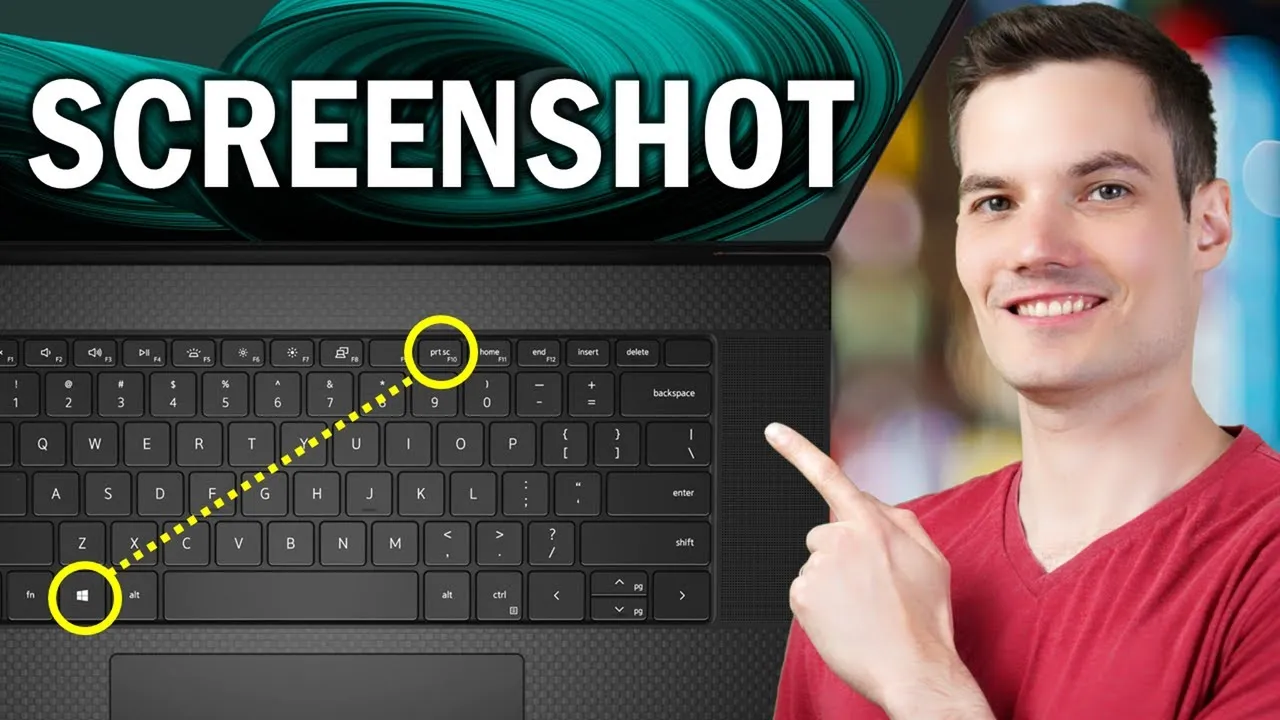
The most straightforward method on Windows involves using the “Print Screen” key. Here’s how:
-
Full Screen: Press the “PrtScn” key to capture the entire screen. You can then paste the screenshot into an image editor or document.
-
Active Window: To capture only the active window, press “Alt + PrtScn.” Paste the screenshot into your desired location.
Snipping Tool or Snip & Sketch
For more precise captures:
-
Snipping Tool: Open the Snipping Tool, select the type of snip you want, and capture the desired area.
-
Snip & Sketch: On Windows 10, use this tool to capture, annotate, and share your screenshots effortlessly.
Taking Screenshots on Mac
Command + Shift + 3
For a quick full-screen capture:
- Press “Command + Shift + 3” to take a screenshot, and the image will be saved on your desktop.
Command + Shift + 4
For a specific area:
- Press “Command + Shift + 4.”
- Drag to select the area you want to capture.
- Release to take the screenshot.
Taking Screenshots on Linux
GNOME Screenshot Tool
- Open the Screenshot tool.
- Choose the type of capture: whole screen, current window, or a custom area.
Additional Tips and Tricks
-
Clipboard Screenshot: On Windows, use “Windows + Shift + S” to capture a screenshot directly to your clipboard.
-
Editing Screenshots: Utilize built-in tools or third-party applications for annotation and editing.
-
File Formats: Be aware of the file format your screenshots are saved in (JPEG, PNG, etc.) to ensure compatibility.
FAQs
Q1: Can I capture a specific portion of the screen on Windows?
A: Absolutely! Use the Snipping Tool or Snip & Sketch to capture custom areas.
Q2: How do I take a screenshot without saving it on Mac?
A: Press “Command + Control + Shift + 3” to copy the screenshot to the clipboard.
Q3: Are there third-party tools for advanced screenshot features?
A: Yes, tools like Snagit and Lightshot offer additional features for capturing and editing screenshots.
Q4: Can I change the default screenshot format on my laptop?
A: Yes, explore your system settings to change the default screenshot format.
Q5: How do I find my screenshots after capturing them?
A: By default, most systems save screenshots in a dedicated folder. Check your desktop or designated screenshot folder.
Conclusion
Taking screenshots on your laptop is a simple yet powerful skill. Whether you’re a Windows, Mac, or Linux user, understanding the diverse methods available ensures you can capture exactly what you need. Experiment with these techniques, and soon you’ll be effortlessly preserving moments and information with just a few clicks or keystrokes.