Title: How to Fix a Broken Laptop Key: A Comprehensive Guide
Introduction:
Welcome to our comprehensive guide on fixing broken laptop keys. Whether you’ve accidentally spilled coffee on your keyboard or your key has simply worn out over time, we’ve got you covered. In this article, we’ll walk you through the steps to troubleshoot and repair your laptop key, saving you time and money on professional repairs. Let’s dive in!
Understanding the Problem:
Before diving into the repair process, it’s essential to understand the root cause of the issue. Laptop keys can break or become unresponsive due to various reasons, including:
Further Reading: How To Connect Beats Studio Buds To Hp Laptop
- Accumulated dirt and debris
- Physical damage from spills or impacts
- Worn-out key mechanisms
- Software issues
Identifying the cause will help determine the most appropriate solution for fixing your broken laptop key.
Assessment and Preparation:
Before you start the repair process, gather the necessary tools and materials:
Check Out: How To Detect My Hp Laptop Model
- Replacement key or keycap
- Flathead screwdriver
- Tweezers
- Compressed air
- Cleaning solution (e.g., isopropyl alcohol)
- Cotton swabs
Ensure you have a clean and well-lit workspace to perform the repair.
Step-by-Step Repair Guide:
Related Post: How To Find Windows Version On Laptop
-
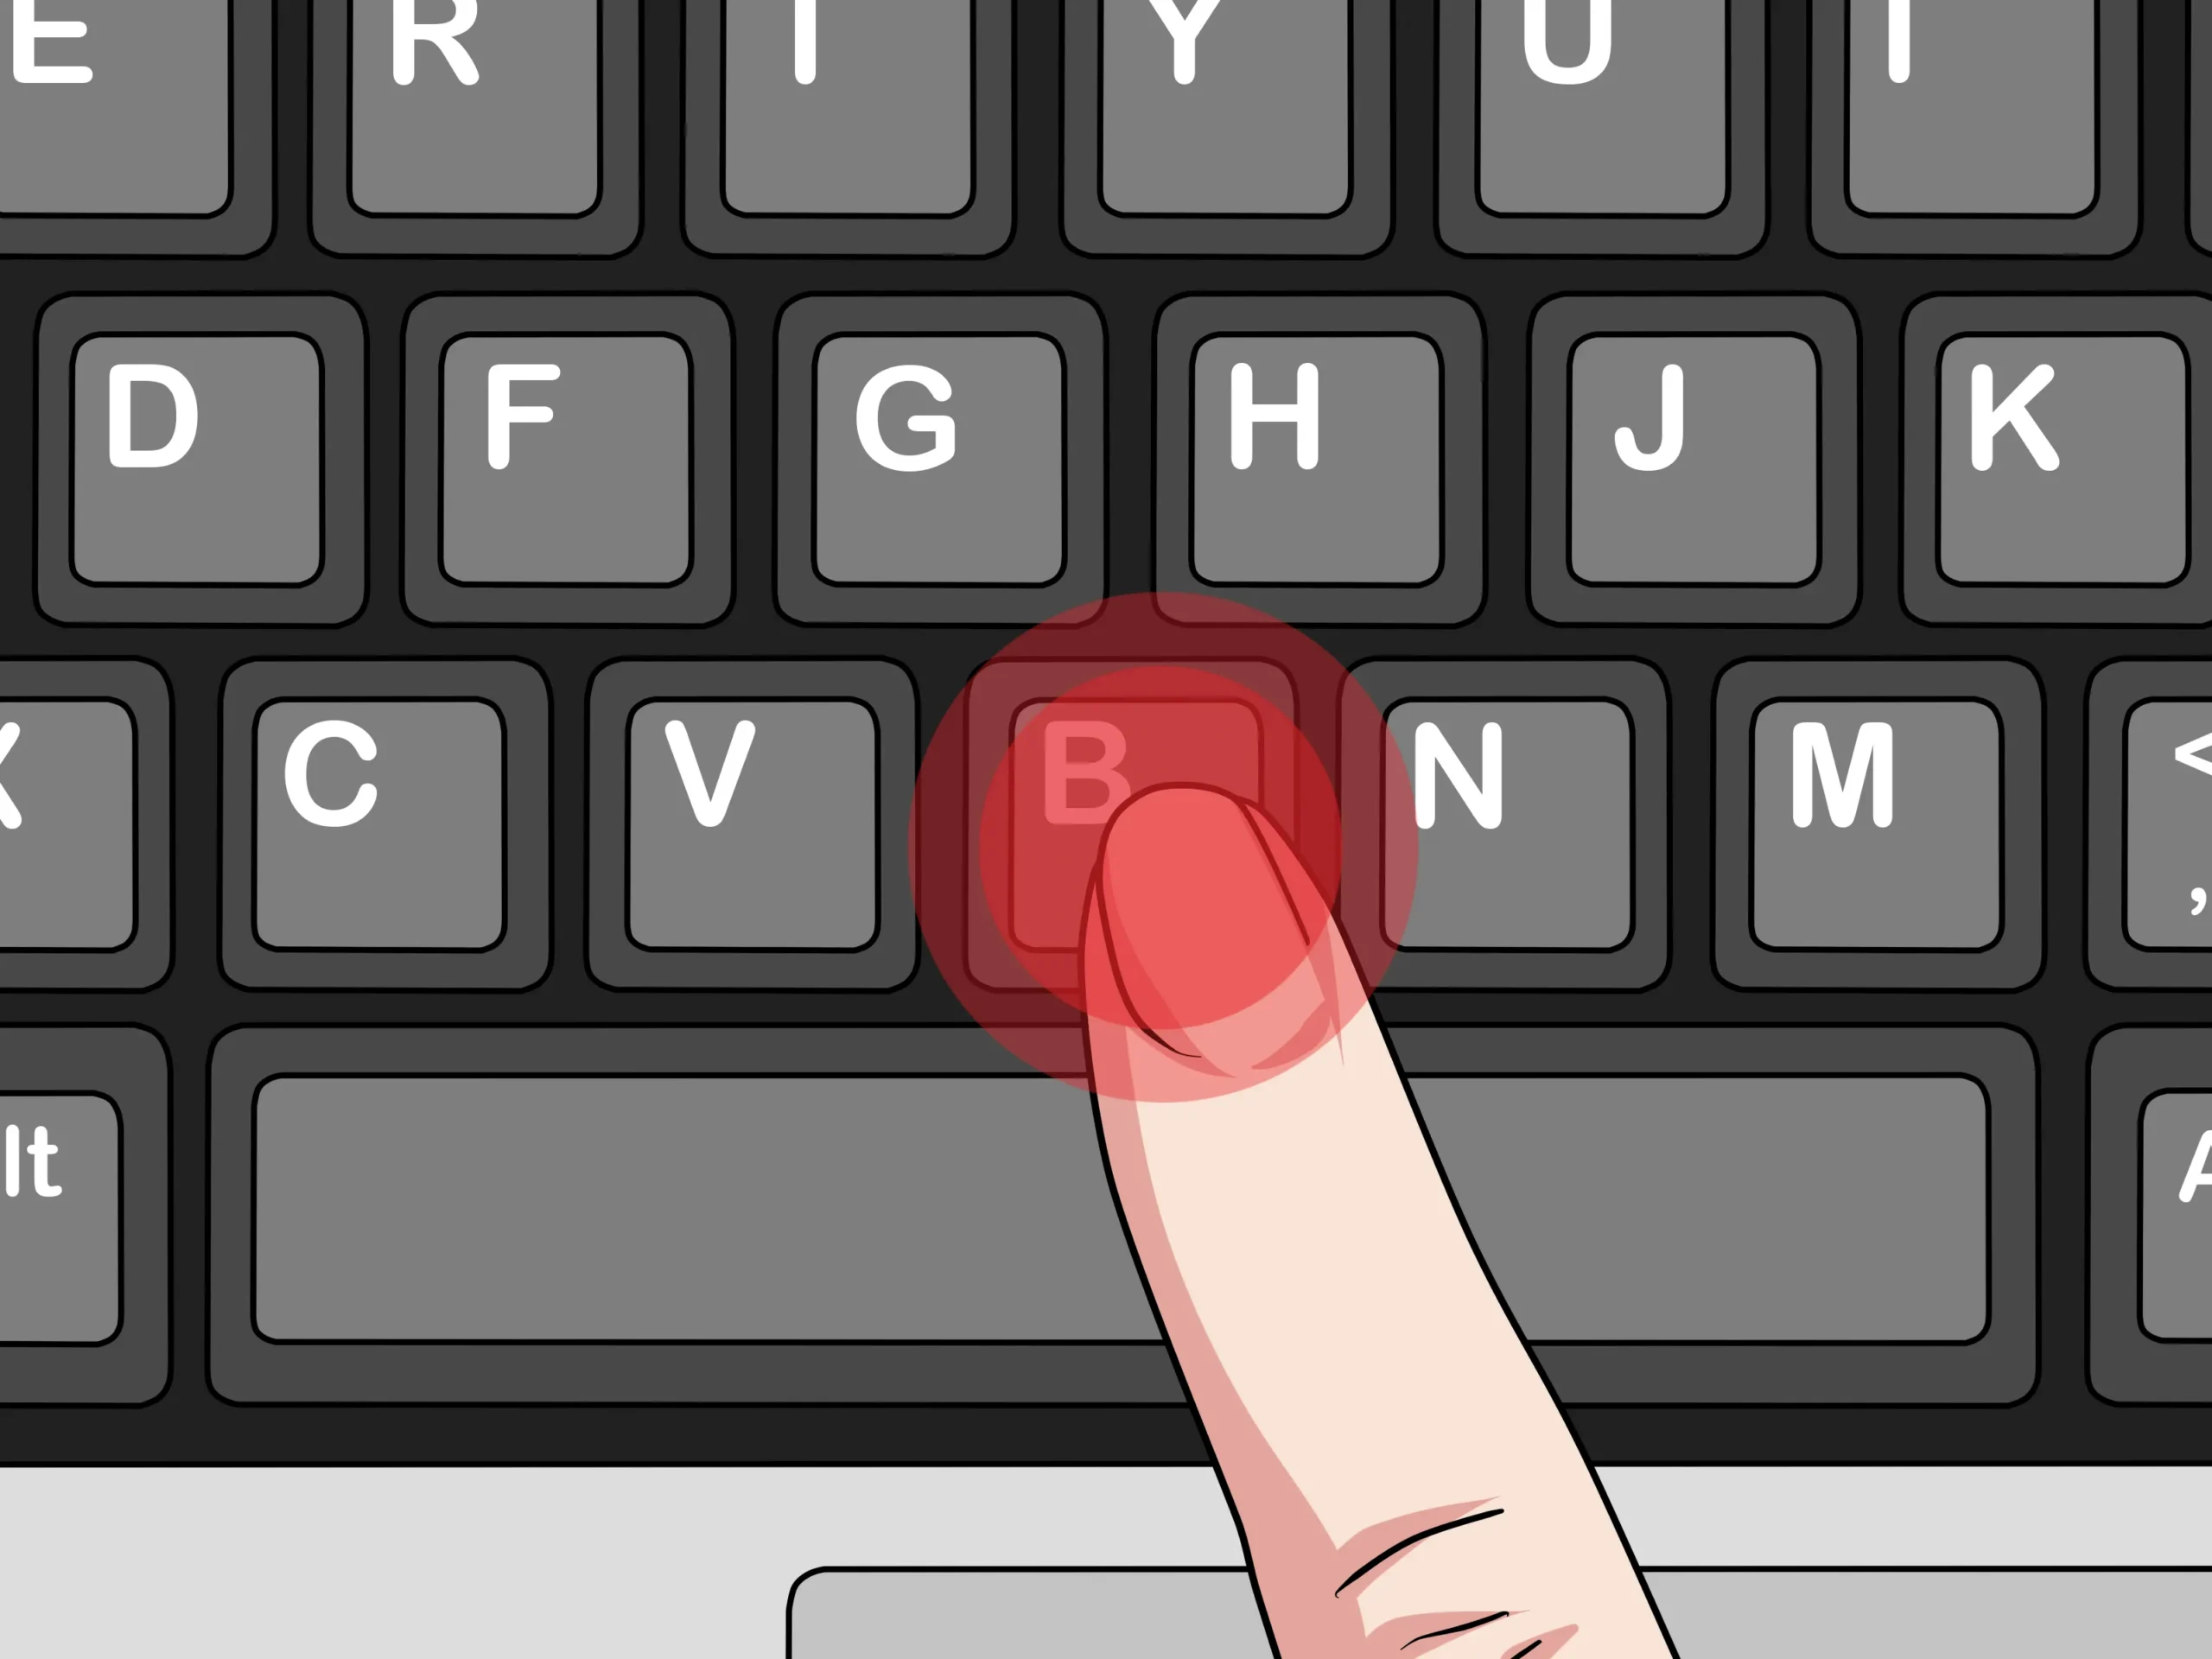
Remove the Broken Key: Use a flathead screwdriver or tweezers to gently pry up the broken keycap from the keyboard.
-
Clean the Key Mechanism: Once the keycap is removed, use compressed air to blow away any dirt or debris lodged underneath. For stubborn grime, lightly dampen a cotton swab with cleaning solution and carefully wipe the key mechanism.
-
Inspect for Damage: Check the key mechanism and surrounding components for any signs of physical damage. If the mechanism is damaged beyond repair, consider replacing the entire keyboard or contacting a professional technician.
-
Install the Replacement Key: If the key mechanism is intact, align the replacement key or keycap with the empty space on the keyboard. Gently press down until it snaps into place.
-
Test the Key: After installing the replacement key, test it to ensure it functions correctly. Press the key multiple times to verify its responsiveness.
FAQs (Frequently Asked Questions):
Q1: Can I fix a sticky laptop key without replacing it?
A1: Yes, you can often fix a sticky key by cleaning the key mechanism with compressed air and a cleaning solution. If the issue persists, you may need to replace the key or seek professional assistance.
Q2: Where can I purchase replacement laptop keys?
A2: Replacement laptop keys can be purchased from various online retailers or directly from the laptop manufacturer. Ensure compatibility with your laptop model before making a purchase.
Q3: My laptop key fell off. How do I reattach it?
A3: To reattach a fallen-off laptop key, align the keycap with the key mechanism and gently press down until it snaps into place. If the keycap is damaged or missing, consider replacing it with a new one.
Conclusion:
Fixing a broken laptop key is a manageable task with the right tools and know-how. By following the steps outlined in this guide, you can troubleshoot and repair your laptop keyboard efficiently. Remember to exercise caution and patience during the repair process, and don’t hesitate to seek professional assistance if needed. With these tips, you’ll have your laptop keyboard working like new in no time.
Recommended: How To Connect Arzopa Portable Monitor To Laptop
Check Out: How To Destroy Laptop